Breathe New Life into Your Kitchen with Cabinet Door Refurbishment
Breathe New Life into Your Kitchen with Cabinet Door Refurbishment
Renovating your kitchen doesn’t always mean a complete overhaul. Sometimes, the smallest changes can make a significant impact. When you’re yearning for a fresh new look in your kitchen, replacing all your kitchen doors might be the ideal solution. Not only is it cost-effective, but it also allows you to bring in a fresh aesthetic without the commotion of a full-fledged renovation. Let’s dive into the many reasons why revamping your kitchen doors can be a golden opportunity to rejuvenate your kitchen space.
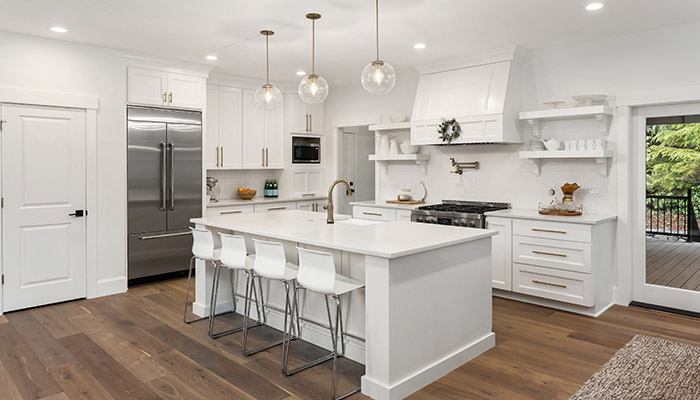
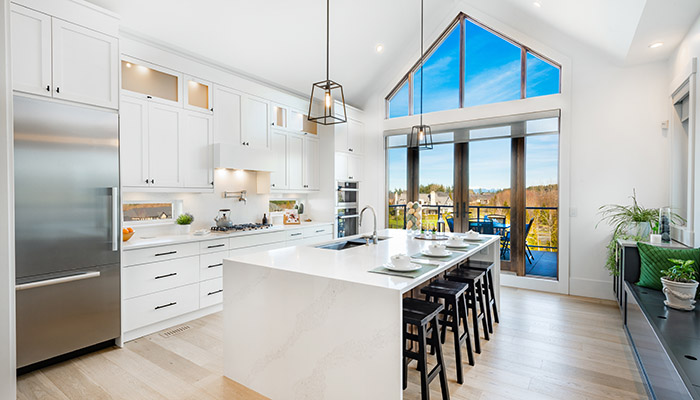
Sprucing Up the Heart of Your Home
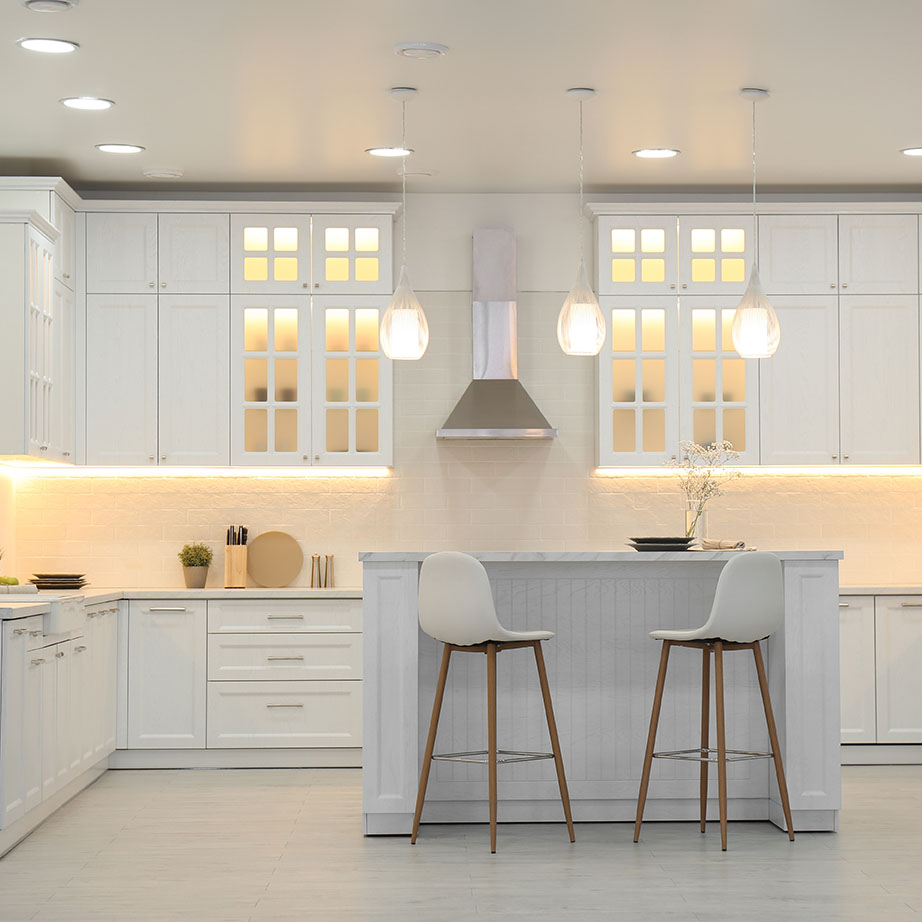
The kitchen is often referred to as the heart of the home. It’s where we gather, create meals, and share moments with family and friends. Hence, keeping it updated and visually appealing is essential. By focusing on the cabinet doors alone, you can introduce a remarkable change in the overall ambiance of the kitchen.
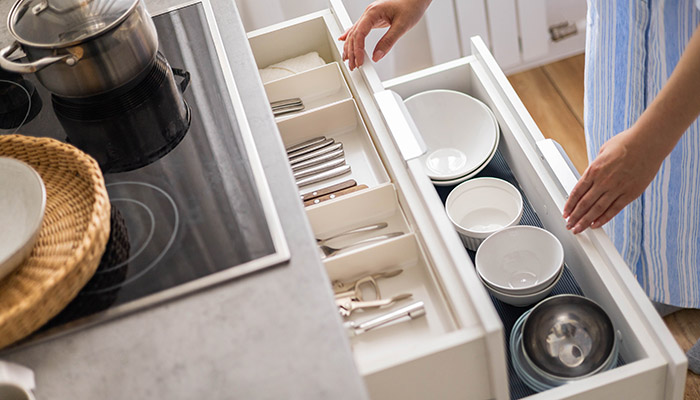
1.Quick and Easy
At Luma, we like to say Click and Easy – because refreshing the whole look of your kitchen is as easy as selecting doors and handles, ordering online and then installing with some hardware (also able to be ordered from us).
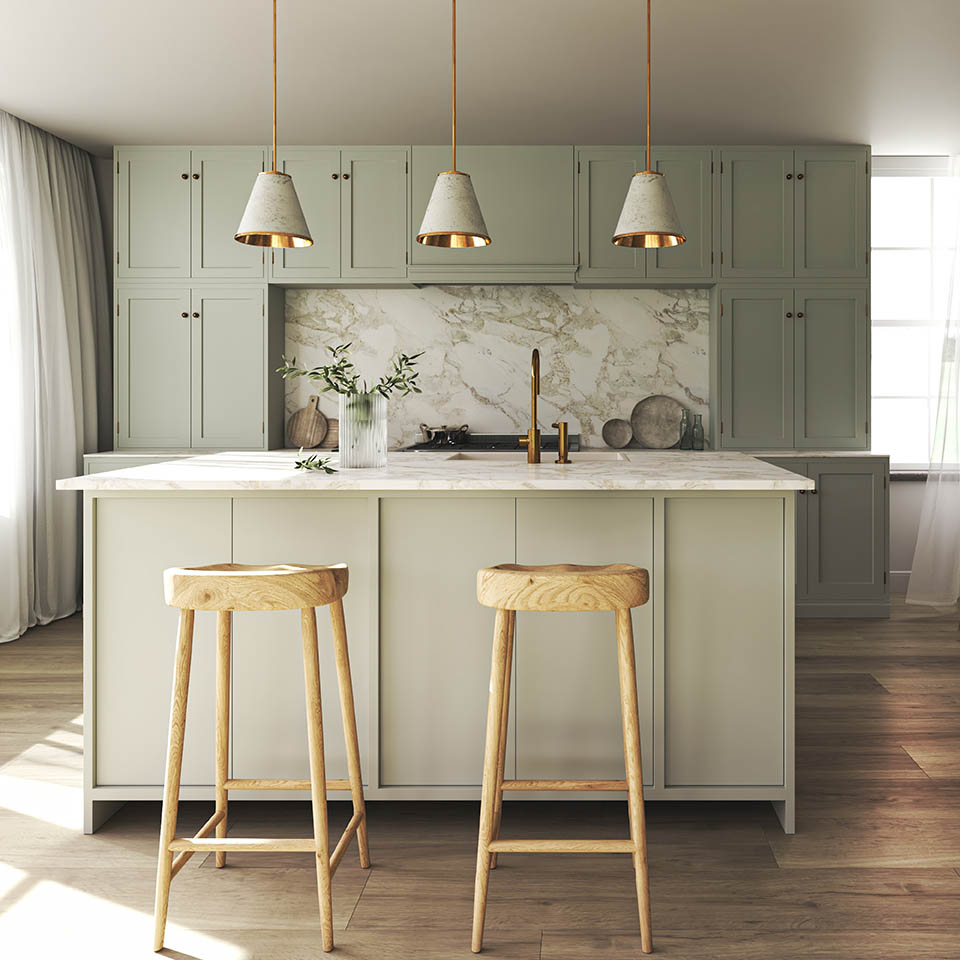
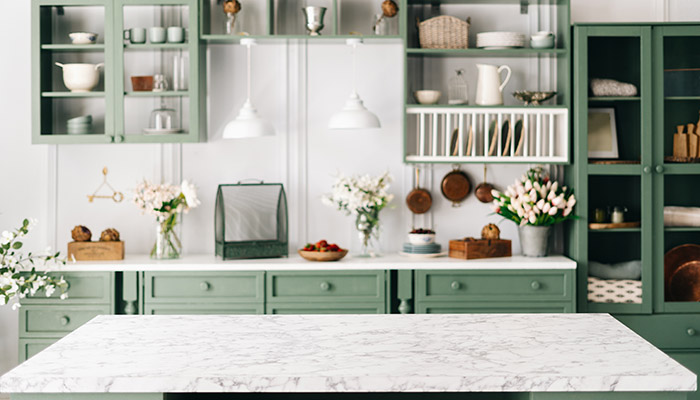
2.Move With Trends
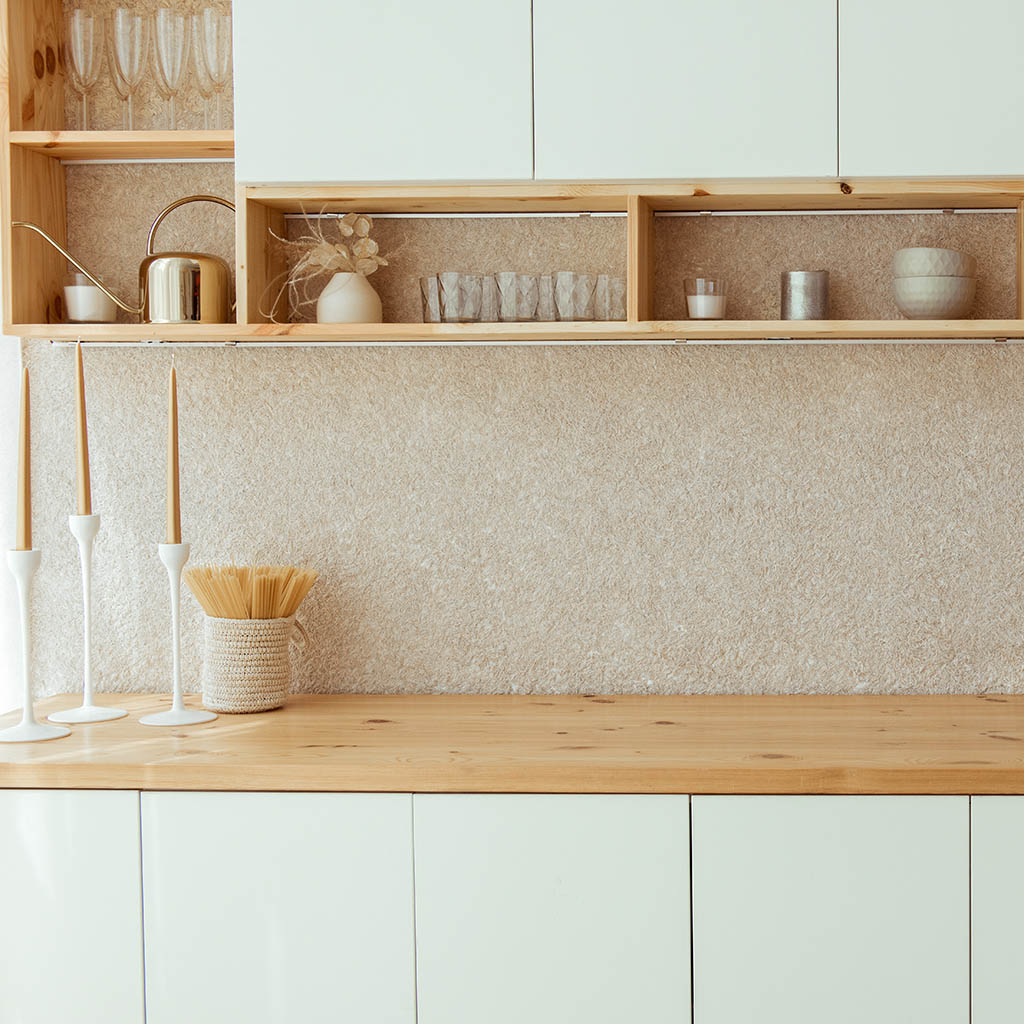
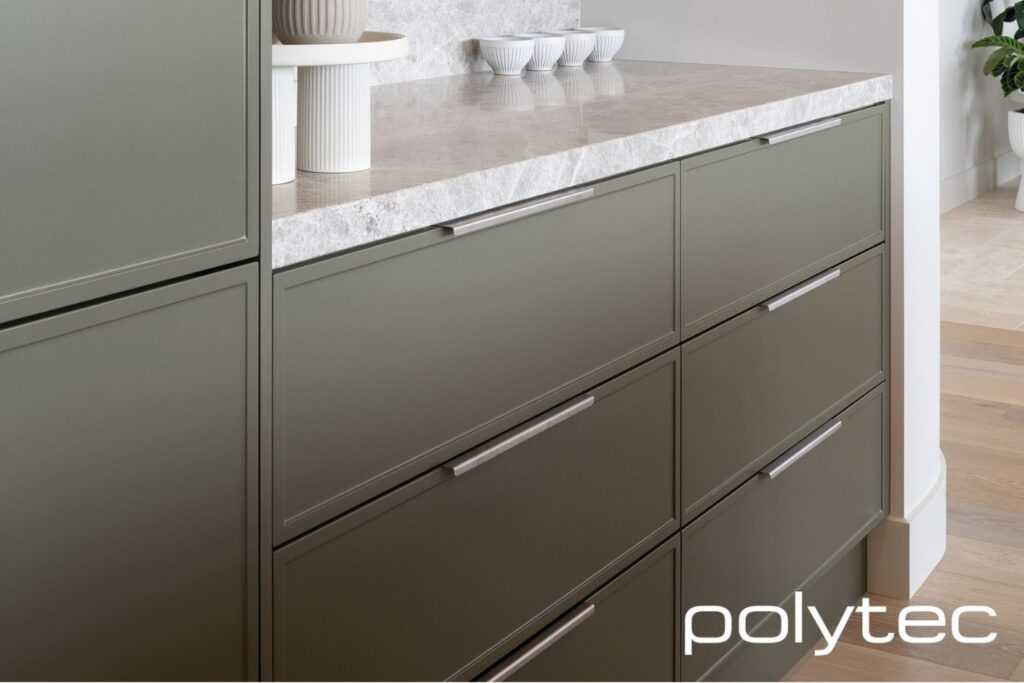
Trends can change quickly, but that doesn’t mean you need to renovate your entire kitchen more frequently. With a quick and efficient way to order custom doors and fittings online through Luma, you can update your kitchen to bring new trends and colours into your home more frequently. We’re seeing a lot of sage green at the moment!
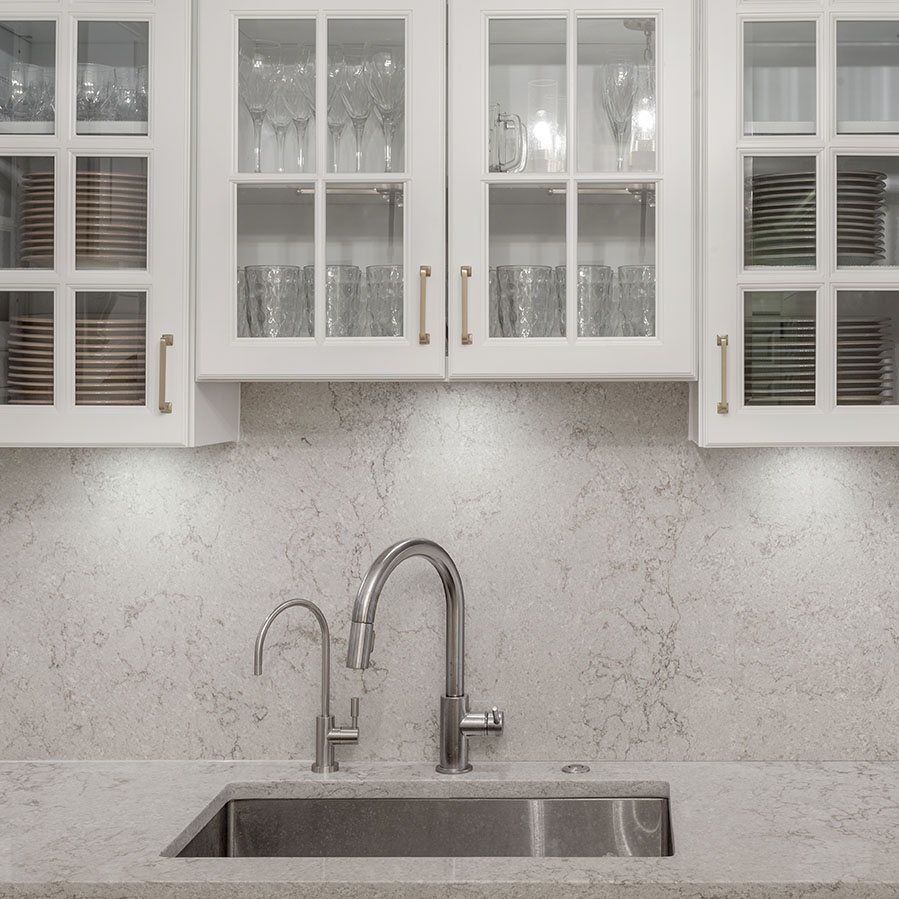
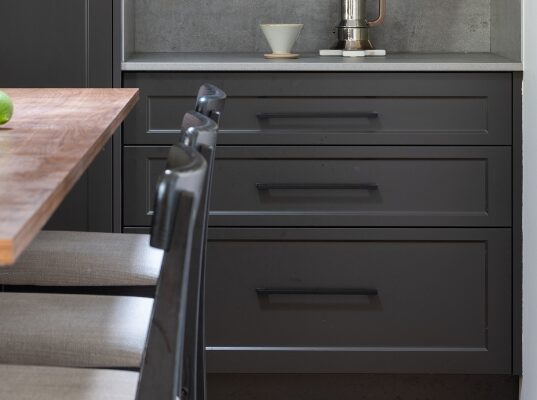
3.Customisable Options
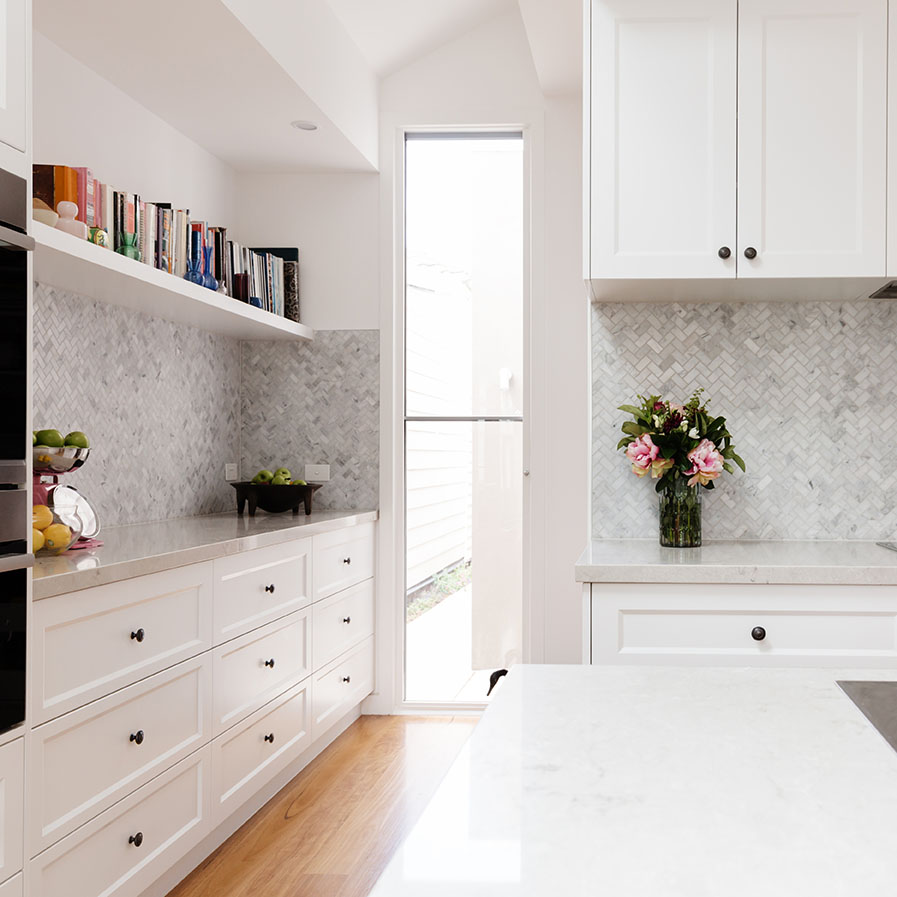
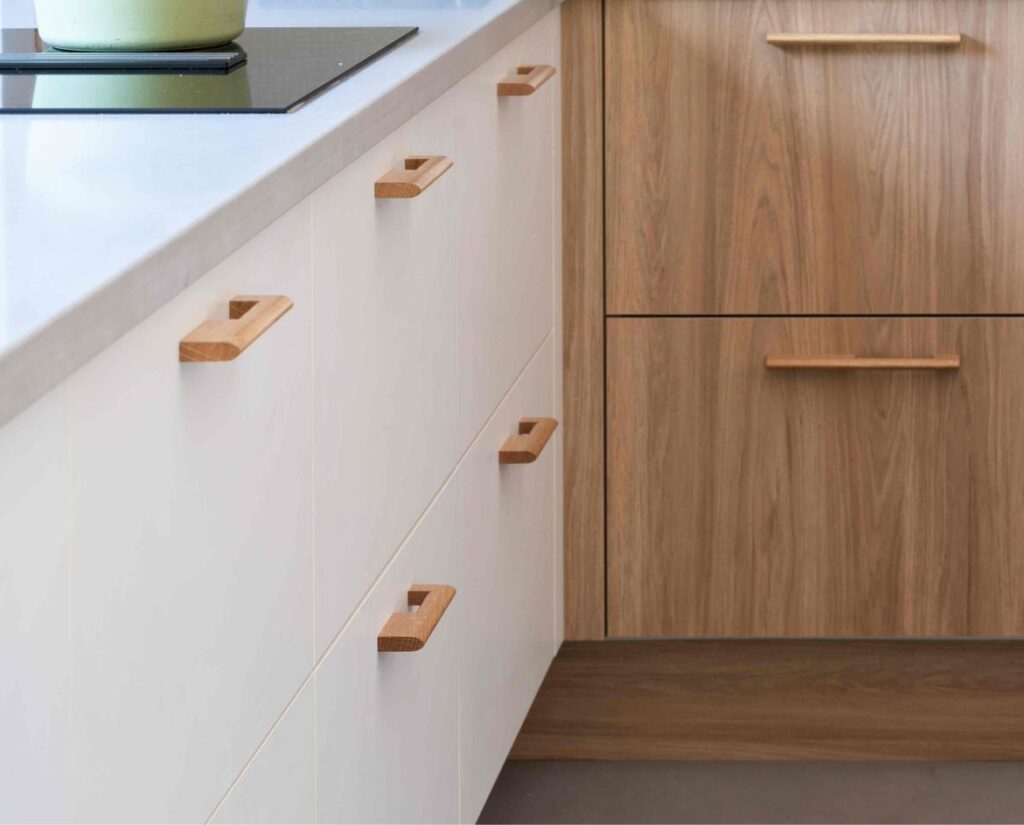
Updating kitchen doors provides a canvas to showcase your style. Whether you opt for a modern, sleek look with high-gloss finishes or a rustic, vintage style with timber-look laminate, the options are endless. You can even experiment with glass insets, unique handles, or unique colours to personalise your kitchen further.
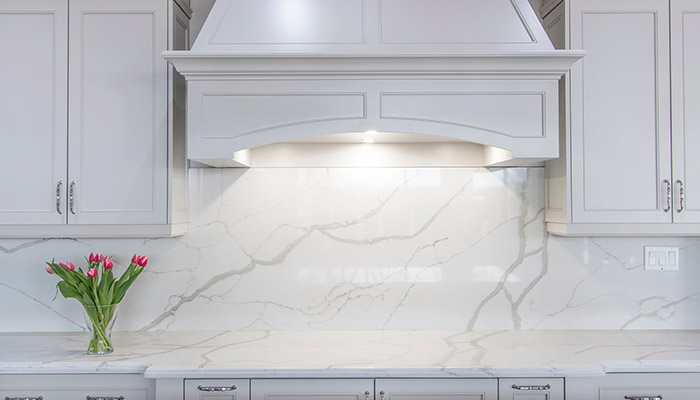
A kitchen door refurbishment is a fantastic way to breathe new life into your kitchen. With a little creativity and effort, you can transform your kitchen into a space that reflects your style and personality. Luma can make it even easier to breathe life into your new space by manufacturing your cabinetry on-site and delivering it to you, ready for install. Visit luma.shop to see our full range of doors and handles.